External application
This is a mechanism that allow us to integrate an external app (Vue plugin) with a Genio application, and it only works with Vue.js aplications.
Overview
It is possible to create an external application, sharing it with several other systems over a Git repository. Adding an external app is a simple way to add new extra functionality to Genio applications. There is a communication channel used to send/receive event between Genio applications and external apps.
Examples of external app use cases:
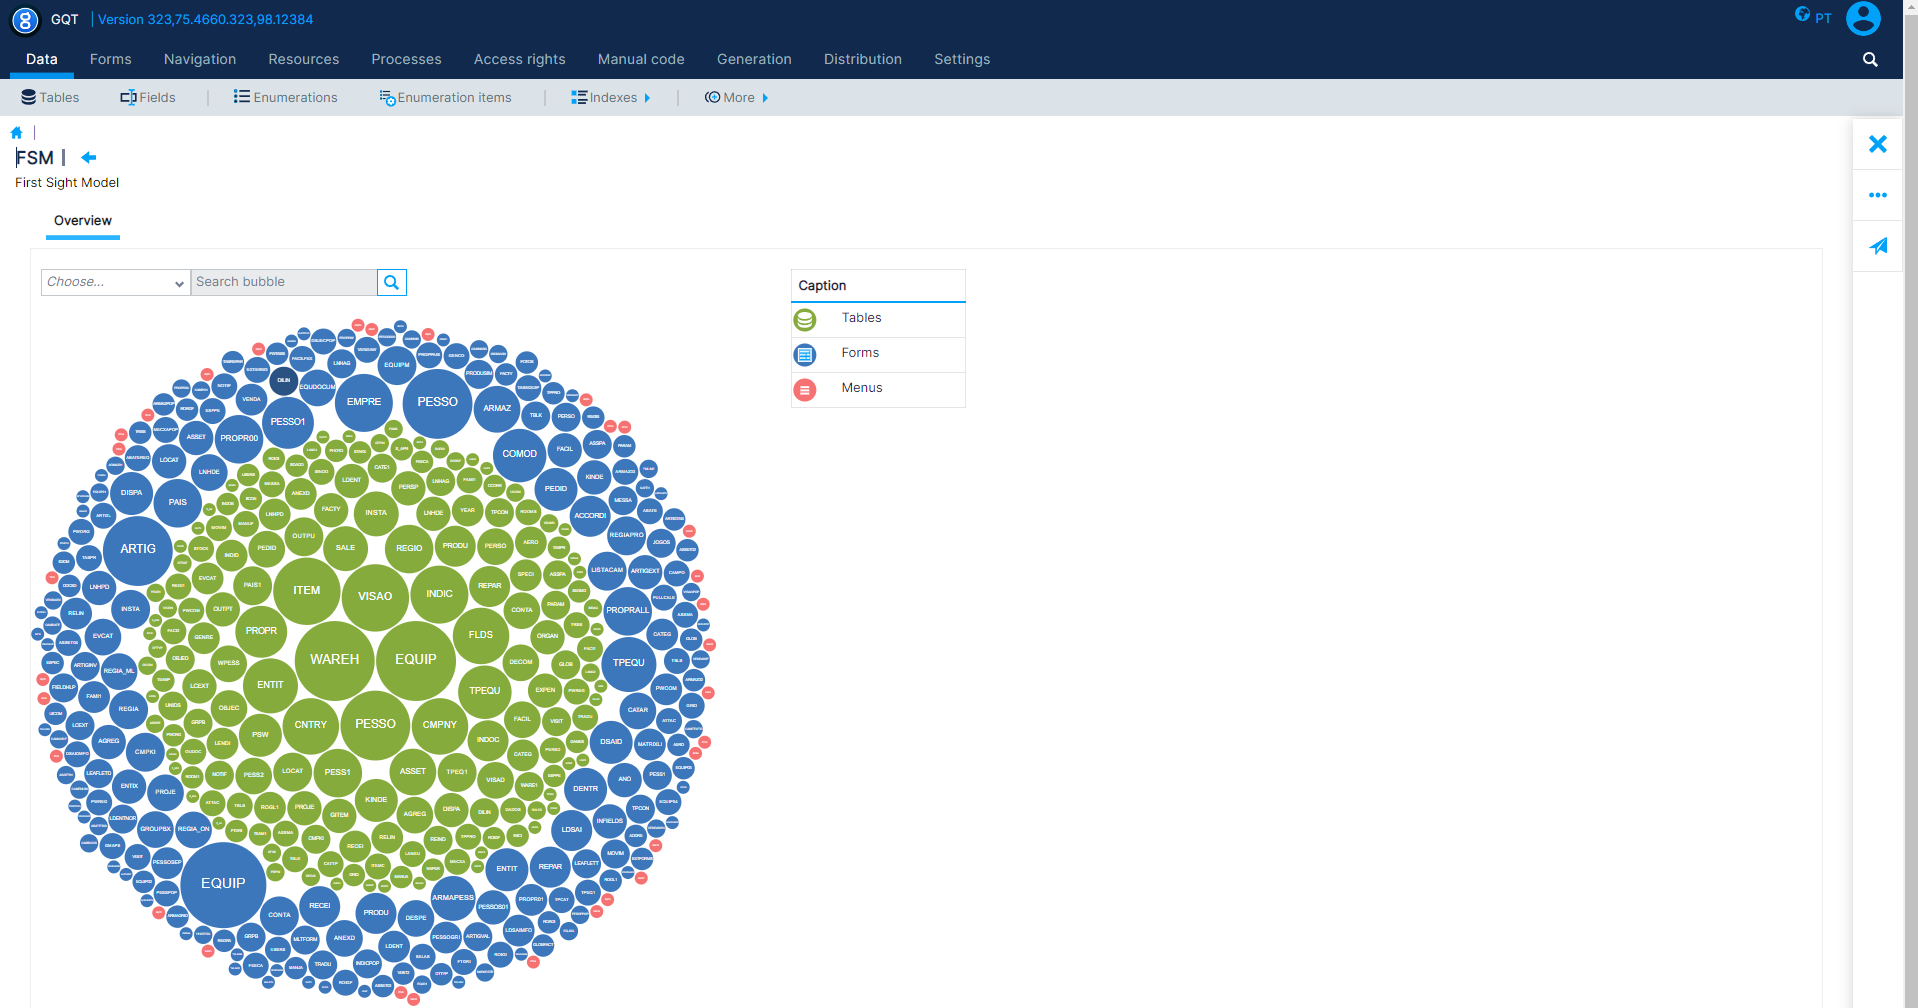
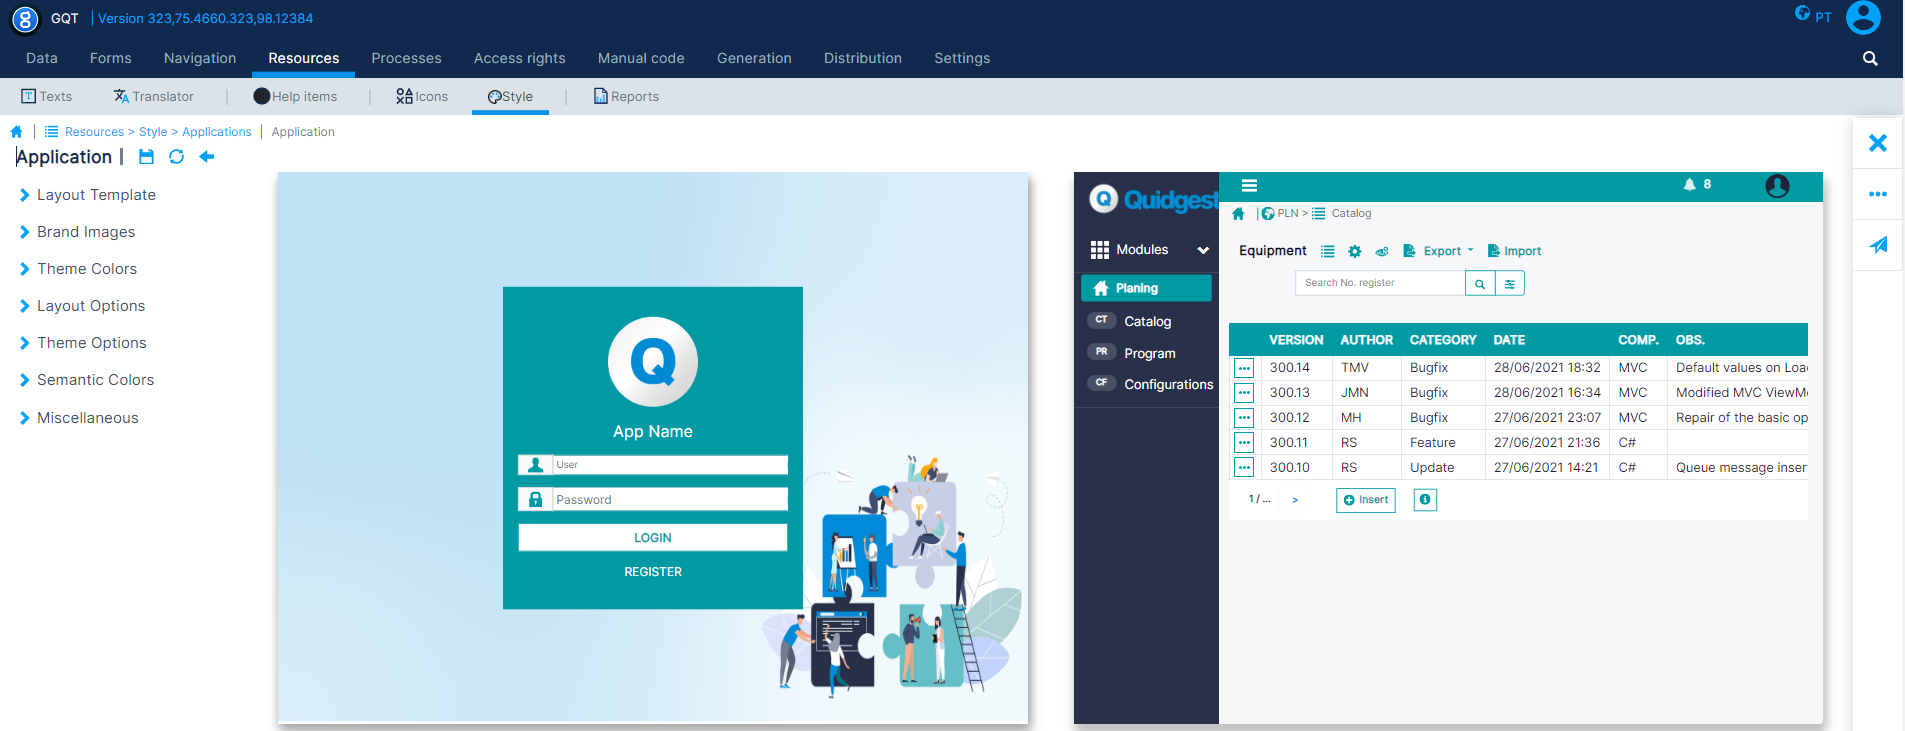

How to create an external app
Before adding an external app to a Genio project, you need to create a “Vue plugin” that contains all features/functionalities you want in your final application and create a package locally. You can use the NPM “link” command to add a local package to your project. Our advice is to work locally with the package until has a stable version.
Create Application/Package
A package is a Vue application created using a build tool (Vite) and configured to be exported like a package. When you create a Vue app you can choose if you want to use routing or not. We prefer an app without routing because the integration with Genio application will be smoother, but it is possible to integrate an external app with routing.
In case the external app uses internal routing there are some concerns to be aware of:
- The “router-link” component won’t work (the routes are added dynamically on the “install” function).
- You must use “router.push” or “router.replace” method to navigate between pages (see doc).
- It is necessary to export the wrapper component.
- It is possible to see here the source code of a package with internal routing.
After creating the application, it is necessary to configure the project to be exported like a package, editing two files:
vite.config.js
import { defineConfig } from "vite";
import vue from "@vitejs/plugin-vue";
import { resolve } from "path";

// https://vitejs.dev/config/
export default defineConfig({
  root: './',
  base: './',
  publicDir : 'public',

  plugins: [vue()],
  resolve: {
    alias: {
      "@": resolve(__dirname, "src"),
    },
  },

  build: {
    target: 'esnext',

    lib: {
      entry: resolve(__dirname, "./src/index.js"),
      name: "LayoutEditor",
      fileName: "layout-editor",
    },

    rollupOptions: {
      external: ["vue", "pinia"],
      output: {
        globals: {
          vue: "vue",
          pinia: "pinia",
        },
      },
    },
  },
});
package.json
{
  "name": "@id/layout-editor",
  "type": "module",
  "private": false,
  "version": "1.2.2",
  "main": "./dist/layout-editor.umd.cjs",
  "module": "./dist/layout-editor.js",
  "exports": {
    ".": {
      "import": "./dist/layout-editor.js",
      "require": "./dist/layout-editor.umd.cjs"
    },
    "./dist/style.css": "./dist/style.css"
  },
  "files": [
    "dist"
  ],
  "publishConfig": {
    "@id:registry": "https://gitserver.quidgest.pt/api/v4/projects/6/packages/npm/"
  },
  "scripts": {
    "build": "vite build"
  },
  "peerDependencies": {
    "bootstrap": "4.6.1",
    "jquery": "3.6.0",
    "lodash-es": "^4.17.21",
    "popper.js": "1.16.1",
    "vue": "^3.2.25"
  },
  "devDependencies": {
    "@vitejs/plugin-vue": "3.0.3",
    "sass": "1.42.1",
    "sass-loader": "12.1.0",
    "vite": "3.0.4"
  },
  "dependencies": {
    "pinia": "^2.0.28",
    "vue-color-kit": "^1.0.5",
    "vue-inline-svg": "^3.1.0"
  }
}
It is possible to see the entire package here.
Add external application - Genio
To add an external app to a Genio project the following steps are necessary:
- Create a folder called “ExternalApps” inside the project folder.
- Create a folder called “[External app name]” inside the “ExternalApps” folder, and add to it the template files ([External app name].var and meta.map) :
The external app control is not treated like a natural control by Genio, it means that you need to define externally some templates for each external app you have in your Genio application. The faster way to create the templates for an external app is coping it from an existed external app and change it to have the info for the new one.
Example of template files for “layout editor” external app:
File: meta.map
template LAYOUT_EDITOR
type PACKAGE
package "@id/layout-editor":"^1.2.1"
csclass Templates/CsTemplates/RequestAppExternal.cs.vm
userouter false| Variables | Description |
|---|---|
| template | [External app name] |
| type | The application type |
| package | Package to be added to package.json file |
| csclass | Genio template to generate csharp class (for now every external app use the same) |
| userouter | Define if the external app has internal routing |
File: LAYOUT_EDITOR.var
Contains a list of nvelocity variables, and their content is placed in some files during the generation process.
externalAppTemplate
BEGINVALUE
<div class="layout-editor-container">
        <layout-editor v-if="!_isEmpty(dataObject)" svgs-path="Content/svg/" :assets-obj="assestObj" :variables-json="dataObject" :is-electron="false" :app-layout="dataObject.layout"  v-on="eventsHandler"/>
</div>
ENDVALUE
externalAppEvents
BEGINVALUE
            const eventList = ['LoadApp', 'saveData', "uploadImgs", "LoadImages"]
ENDVALUE
externalAppData
BEGINVALUE
assestObj: {
                    "logotipo_header.png": 'Content/layout-editor-imgs/logotipo_header.png',
                    "f-login__background.png": 'Content/layout-editor-imgs/f-login__background.png',
                    "f-login__brand.png": 'Content/layout-editor-imgs/f-login__brand.png',
                    "Q_icon.png": 'Content/layout-editor-imgs/Q_icon.png',
                    "user_avatar.png": 'Content/layout-editor-imgs/user_avatar.png',
                },
ENDVALUE

externalAppResponseEventCases
BEGINVALUE
                            case "LoadApp":
                                vm.dataObject = JSON.parse(data.Data[1]);
                                this.appLayout = vm.dataObject.layout;
                                break;
                            case "LoadImages":
                                const imgsData = JSON.parse(data.Data[1]);
                                _Merge(this.assestObj, imgsData)
                                break;
                            case "saveData":
                                if (data.Data[1]== 'true' || data.Data[1] == 'True')
                                    displayMessage('App data saved successfully')
                                else
                                    displayMessage('Errro saving App data')
                                break;
ENDVALUE

externalAppStyleImport
BEGINVALUE
import _Merge from 'lodash-es/merge'
    import '@id/layout-editor/dist/style.css';
ENDVALUE

externalAppImport
BEGINVALUE
import LayoutEditor from '@id/layout-editor'
ENDVALUE

externalAppUse
BEGINVALUE
    // Layout-editor
    {
        appPackage: LayoutEditor,
        parameters: { hasPinia: true },
        hasInternalRouter: false
    },
ENDVALUE| Variables | Description |
|---|---|
| externalAppTemplate | this is the entry point to use the wrapper component (<layout-editor>) available in the external app |
| externalAppEvents | The list of events emitted by the external app |
| externalAppData | A simple way to add extra data to the generated component for the external app |
| externalAppResponseEventCases | Place to process all event responses |
| externalAppStyleImport | Style import statements |
| externalAppImport | External app import statement |
| externalAppUse | This variable is used to add the external app plugin to the Genio application. In this section we can define parameters to send to external app |
- Add the external app control to a Genio project
To add an external app control to a project in Genio, it is necessary to create or using an existing form and add a new component.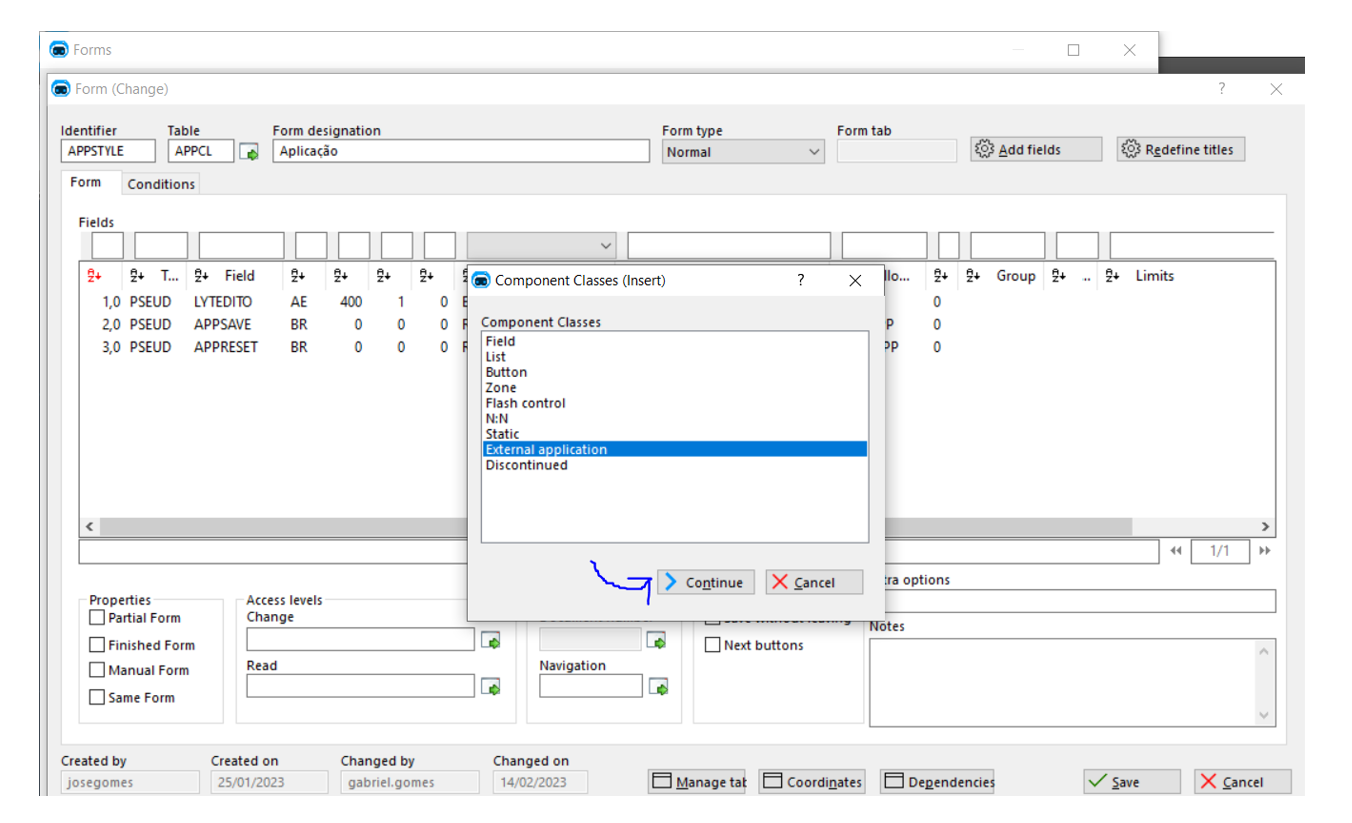
Choose the “External application” option and click on button “Continue”.
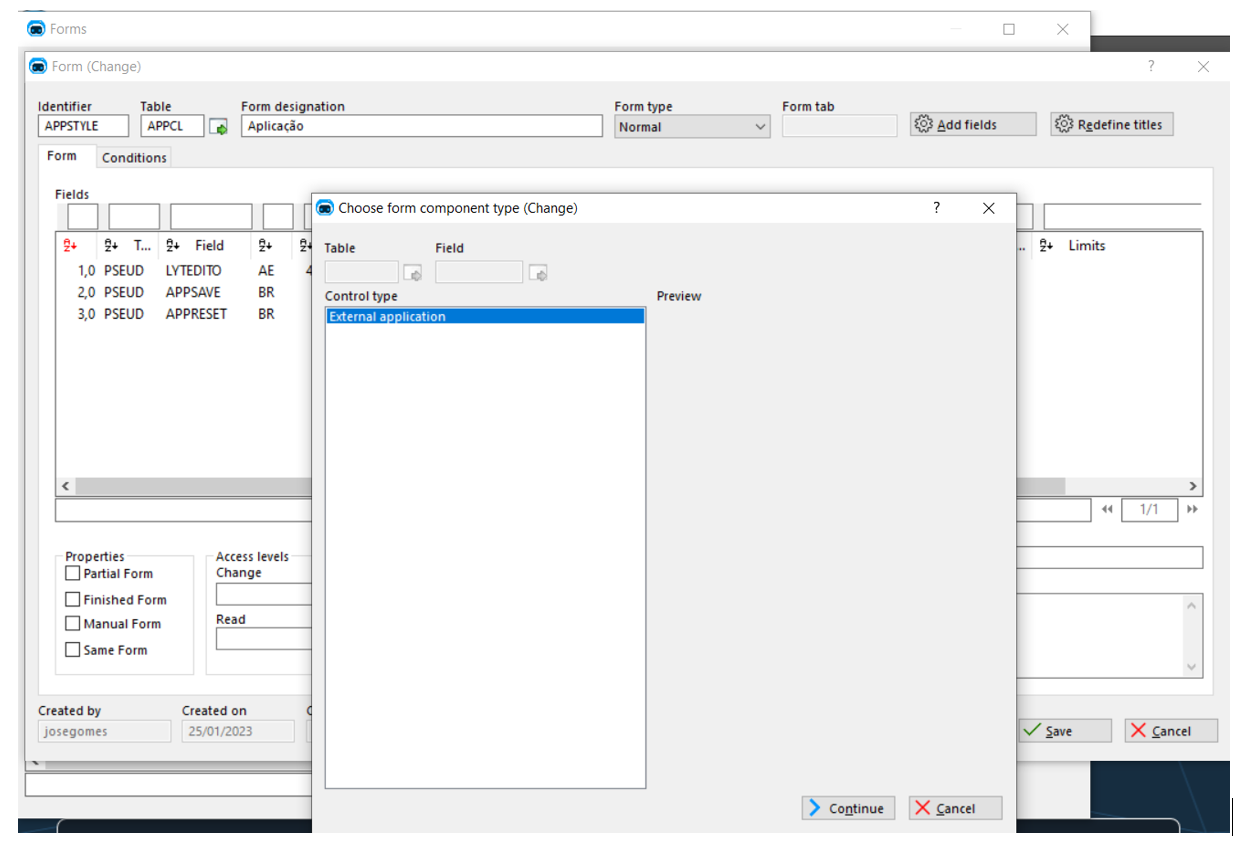 Click on button “Continue”.
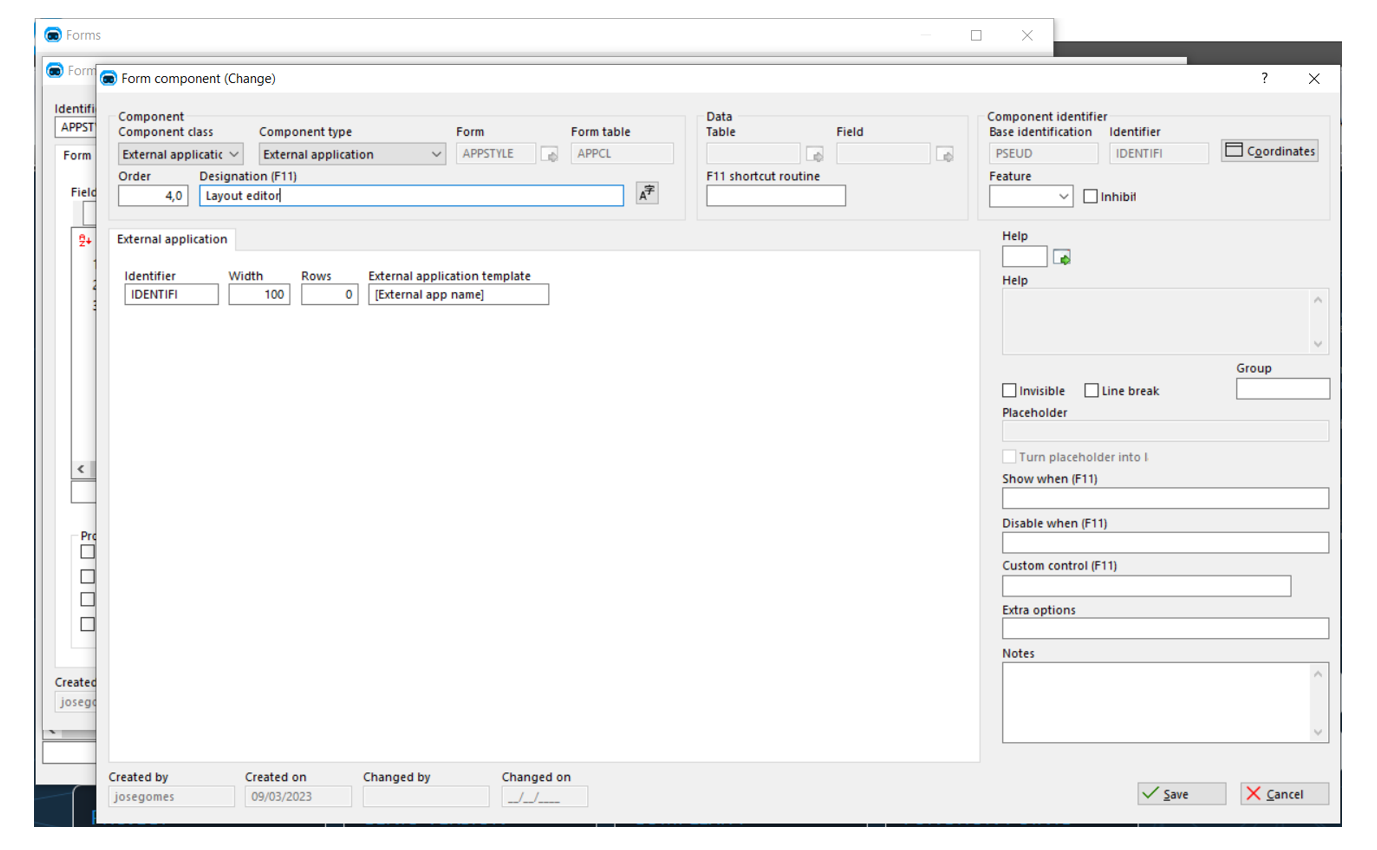 Write an identifier for the control and the external application name (folder name defined in align 2) and click save button.
After saving you must open the form with the form editor, arrange it and save the form to create the control coordinates.
The external app control can be used with different form types (Normal or Empty) and form could have other kind of fields. So, you can put the form wherever is needed in the menu system.